

Deck & Commander Strategies
Lord Windgrace
Ramp lands aggressively to trigger landfall abilities, create token creatures like zombies from Field of the Dead, and use graveyard recursion to maintain board presence and control the battlefield.

Azusa, Lost but Seeking
Accelerate land drops to draw cards and deploy powerful creatures and permanents, leveraging landfall and exploration synergies to build a strong board state.

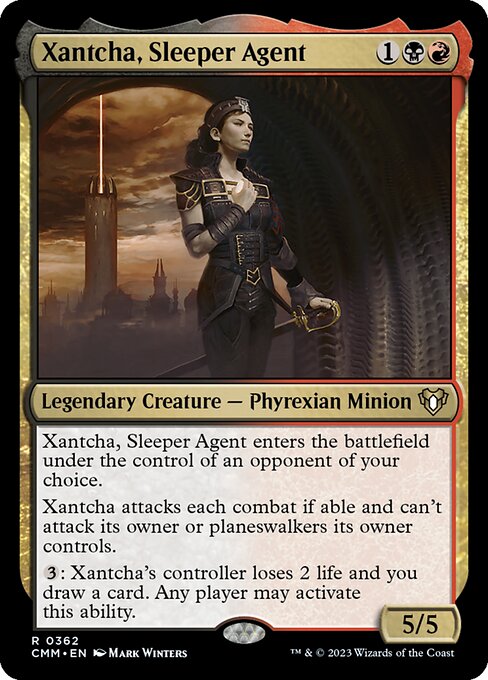
Xantcha, Sleeper Agent
Disrupt opponents by forcing them to discard cards or pay life during their turns, controlling the pace of combat and resource availability to gain advantage.
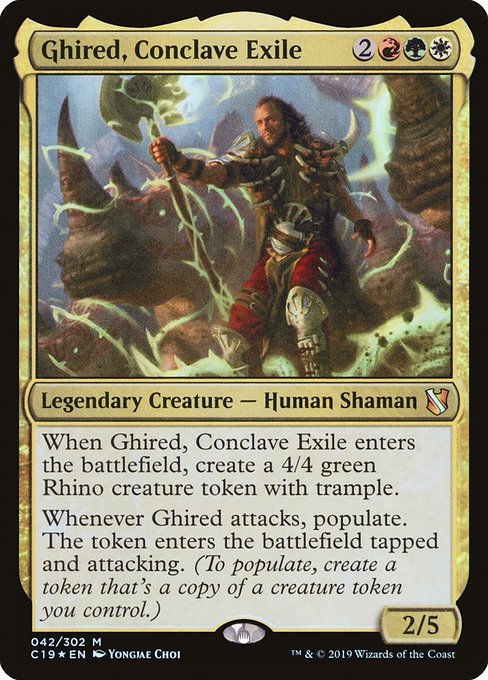
Ghired, Conclave Exile
Generate numerous tokens via spells and Garruk, Primal Hunter, then overwhelm opponents with combat damage amplified by triggers like Warstorm Surge and populate effects.
Gameplay Insights
- 1
Lord Windgrace's use of graveyard recursion to return key lands and permanents kept his landfall engine fueled and allowed token generation to continue steadily.
- 2
Ghired's consistent token production and Warstorm Surge triggers pressured multiple opponents simultaneously, forcing difficult decisions about blocking and damage assignment.
- 3
Silent Arbiter temporarily hindered aggressive combat strategies, but its removal allowed Ghired and Windgrace to resume attacking freely, highlighting the importance of timing removal spells.
- 4
Xantcha's discard and life payment mechanics created resource strain on opponents, though it was less impactful compared to the overwhelming token swarms from other players.
- 5
Populating Rhino tokens to repeatedly deal combat damage proved to be a powerful and repeatable source of pressure in the mid to late game.
Notable Cards
-

Field of the Dead
-

Garruk, Primal Hunter
-

Warstorm Surge
-

Tireless Tracker
-

Silent Arbiter
-

No Mercy
-

Cultivate
-

Azusa, Lost but Seeking
-

Lord Windgrace
Gameplay Summary
The game began with all players establishing their mana bases and early board presence, with ramp and utility lands coming into play.
Lord Windgrace focused on landfall synergies, using cards like Cultivate and Field of the Dead to generate value and tokens.
Azusa aimed to accelerate land drops and enhance board development, while Xantcha employed a disruptive strategy, forcing opponents to discard or pay life.
Ghired emphasized token generation and combat damage through Garruk, Primal Hunter and Warstorm Surge. Key turning points included Windgrace's strategic use of graveyard recursion with his planeswalker and the creation of zombies from Field of the Dead, which bolstered his board state significantly.
Meanwhile, Ghired leveraged Garruk to produce Rhino tokens consistently, enabling multiple attacks each turn and dealing substantial damage.
Jenny's Azusa deck used creatures like Tireless Tracker and Anissa to grow her board and pressure opponents.
Xantcha's Silent Arbiter kept attacks in check temporarily but was removed promptly, allowing combat to resume. As the game progressed, token production and landfall triggers became central themes.
Windgrace and Ghired traded damage through token swarms and combat, while Azusa's ramp and card draw kept her threatening.
Notably, Ghired's ability to populate and create multiple Rhino tokens repeatedly shifted the game's tempo and damage distribution.
The match was poised for a conclusion based on overwhelming board presence and combat damage from tokens, with players carefully managing resources and timing their attacks to maximize pressure.


![Commander VS Special: Kresh vs Xantcha vs Rhys vs Atraxa [EDH] thumbnail](https://i.ytimg.com/vi/3F2CvGLBGvw/sddefault.jpg)


![Commander VS S14E5: Lord Windgrace VS Saheeli VS Aminatou VS Estrid [EDH] thumbnail](https://i.ytimg.com/vi/JC-3BaczJhU/sddefault.jpg)


![Commander VS: Commander 2019 Decks from MagicFest Las Vegas! [EDH] thumbnail](https://i.ytimg.com/vi/hAnTUfTMWBU/sddefault.jpg)
![Commander VS S16E8: Kadena VS Sevinne VS Ghired VS Anje [EDH] thumbnail](https://i.ytimg.com/vi/L9vIqyIu0dk/sddefault.jpg)