Deck & Commander Strategies
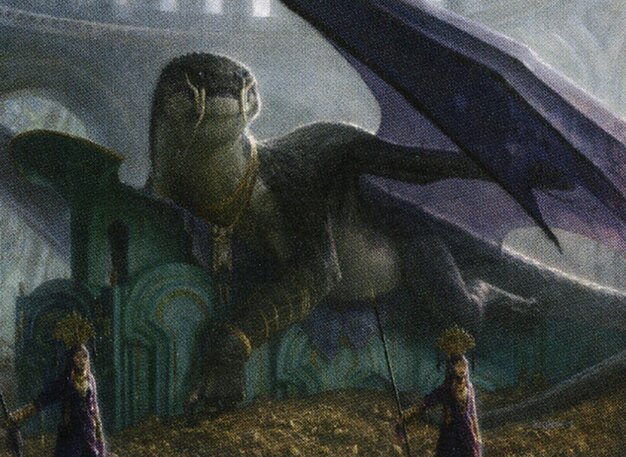
Dragonlord Silumgar
Control and steal opponent creatures to gain board advantage, use board wipes to clear non-dragons, and leverage powerful dragon synergy to close out the game.

Dragonlord Atarka
Deal heavy damage through trample and damage spread abilities, supporting aggressive dragon-based combat and clearing opponents’ boards.

Sidisi, Undead Vizier
Use exploit and graveyard recursion to tutor and recur powerful creatures and spells, supporting a resilient creature-based strategy.
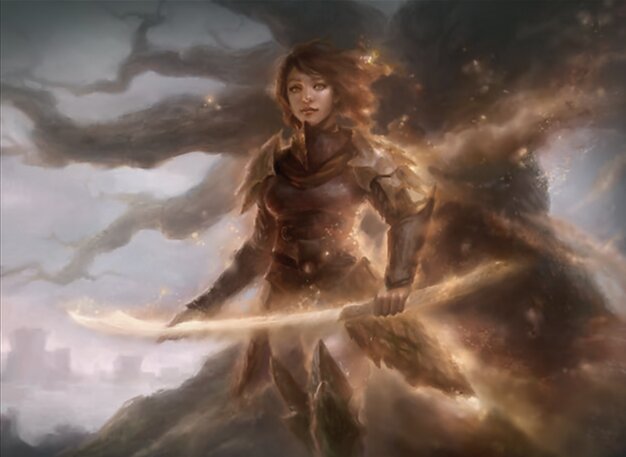
Anafenza, Kin-Tree Spirit
Generate and bolster a wide board of low-cost creatures to build up toughness and board presence, making it difficult for opponents to remove all threats.
Gameplay Insights
- 1
Dragonlord Silumgar’s ability to gain control of opponent creatures was pivotal in shifting board advantage and disrupting the Abzan team’s creature base.
- 2
Anafenza’s bolster effect allowed the Abzan team to quickly increase the toughness of their low-cost creatures, making them resilient against the dragons' removal and damage.
- 3
The Dragonlord team’s use of Crux of Fate helped efficiently clear the battlefield of non-dragon creatures, leveraging their dragon-heavy deck composition.
- 4
Exploit mechanics in Sidisi's deck provided flexible value through sacrificing creatures to tutor or recur important cards, helping sustain pressure despite board wipes.
- 5
The Two-Headed Giant format amplified the importance of teamwork and coordinated attacks, with each team leveraging their commanders’ strengths to pressure both opponents simultaneously.
Notable Cards
-
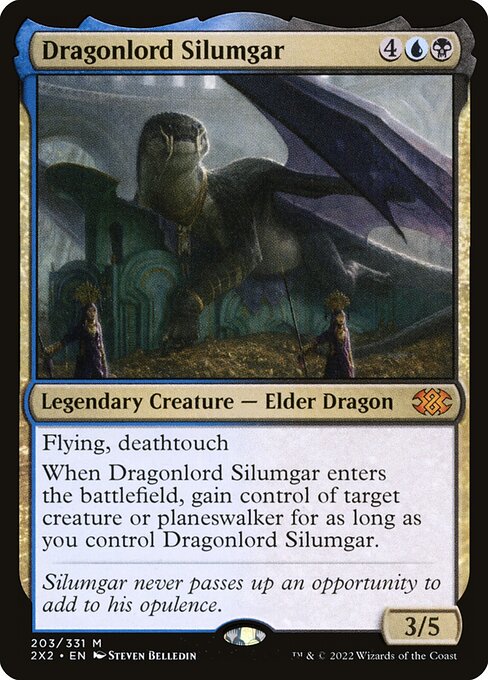
Dragonlord Silumgar
-

Dragonlord Atarka
-
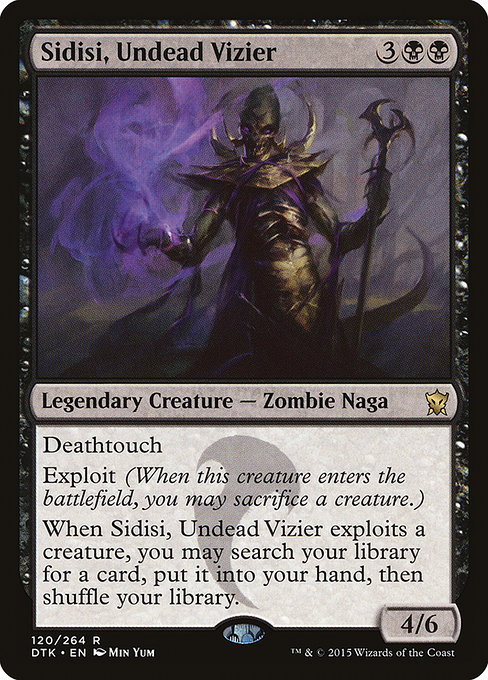
Sidisi, Undead Vizier
-
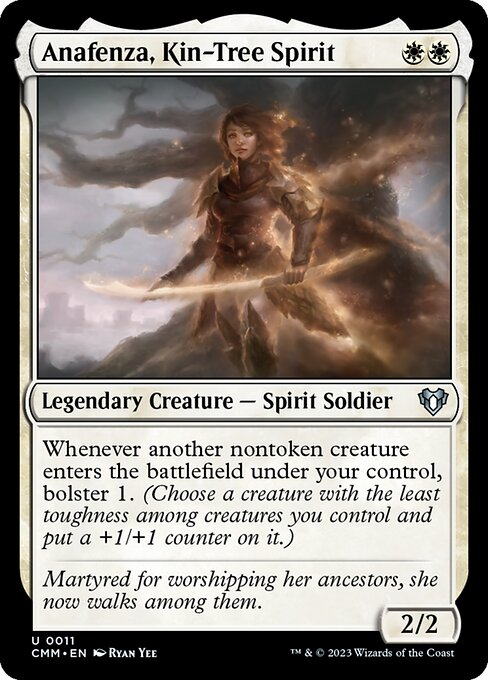
Anafenza, Kin-Tree Spirit
-
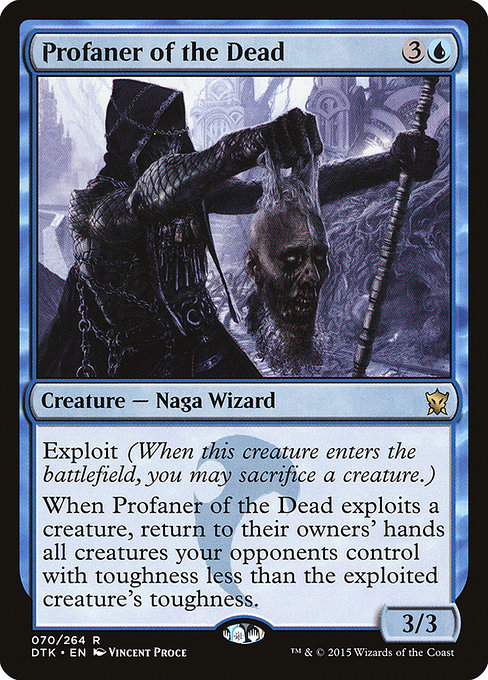
Profaner of the Dead
-
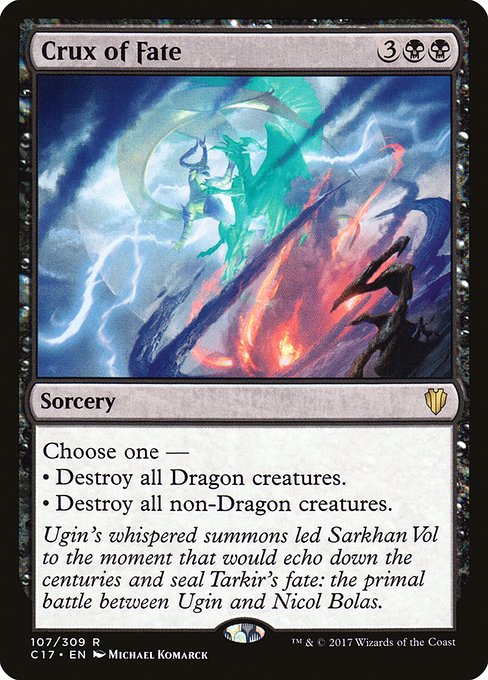
Crux of Fate
-
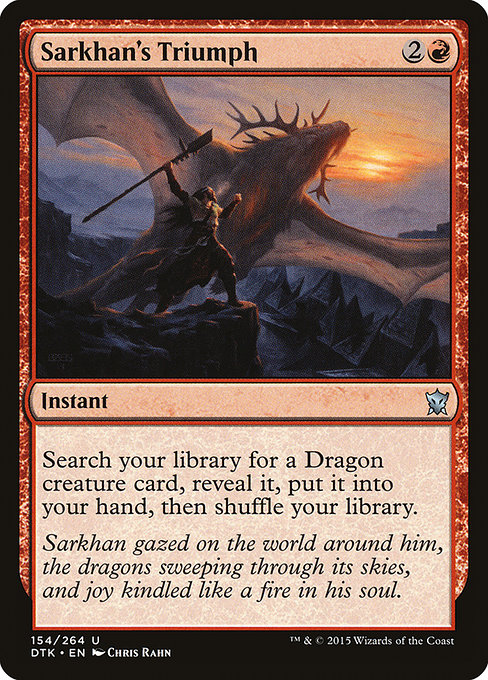
Sarkhan's Triumph
Gameplay Summary
The game was played as a Two-Headed Giant Commander match with two teams of two players each, featuring Dragonlord Silumgar and Dragonlord Atarka on one side, and Sidisi, Undead Vizier and Anafenza, Kin-Tree Spirit on the other.
The Dragonlord team focused on leveraging powerful dragons and board control through stealing opponent creatures and wiping the board of non-dragons using cards like Dragonlord Silumgar's control ability and Crux of Fate.
They aimed to overwhelm the opponents with dragon synergy and high-impact damage spells.
On the opposing side, the Abzan-themed team with Sidisi and Anafenza relied on a more creature-based strategy with numerous low-cost creatures that could be continually bolstered, making their board resilient against dragon attacks and control effects.
Anafenza's bolster triggered each time a non-token creature entered the battlefield, rapidly increasing board presence and toughness, making them harder to remove in large numbers. Key turning points revolved around Dragonlord Silumgar's ability to repeatedly steal creatures and the use of board wipes to clear non-dragon threats, while the Sidisi and Anafenza team tried to maintain a wide and tough board.
Exploit mechanics with Sidisi and other cards helped search for answers or combo pieces.
The Dragonlord team’s use of Dragonlord Atarka’s damage distribution and Dragonlord Silumgar’s control effects put significant pressure on the Abzan duo, while Anafenza’s bolstering threatened to outpace the dragon damage through sheer creature toughness and numbers.
Ultimately, the two-headed team with dragons aimed to crush their opponents with overwhelming power and control, while the Abzan team sought to outlast and whittle down the dragons with resilient creatures and synergy effects.
![Commander Versus Series: 2HG Sidisi & Anafenza v. Dragonlord Silumgar & Atarka [MTG Multiplayer] thumbnail](https://i.ytimg.com/vi/Pp4UOi-Ayao/maxresdefault.jpg)


