Deck & Commander Strategies
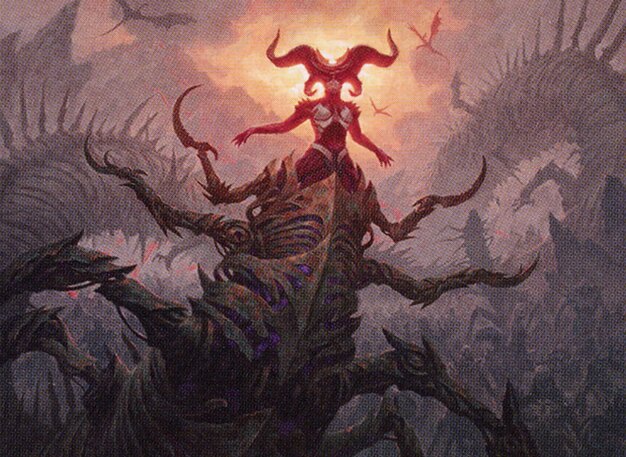
Sheoldred, the Apocalypse
A control-focused deck aiming to stabilize the board with interaction spells like removal and counterspells while leveraging Sheoldred's ability to drain life and control creatures. The deck uses Snaring Bridge to lock down attackers and grind out advantage over time.

Lara Croft, Tomb Raider
An aggressive midrange deck that applies early pressure with efficient creatures and burn, supported by treasure token ramp and card draw synergies. It aims to reduce opponents' life totals quickly and capitalize on combat tricks and commander triggers to finish the game fast.
Gameplay Insights
- 1
Lara Croft's player effectively used early aggressive plays and incremental damage from commander triggers and treasure tokens to pressure Sheoldred before they could stabilize.
- 2
Sheoldred's player relied heavily on resolving interaction spells like Decisive Denial and removal but lacked sufficient tempo to stop Lara's beatdown.
- 3
The use of Snaring Bridge by Sheoldred was a key defensive play but ultimately insufficient as Lara's aggression and card advantage overwhelmed the control deck.
- 4
Managing treasure tokens carefully to ramp and cast spells was an important resource decision for Lara's deck, maximizing value each turn.
- 5
A missed opportunity for Sheoldred was not prioritizing removal on critical creatures earlier, which allowed Lara to maintain board presence and push lethal damage.
Notable Cards
-
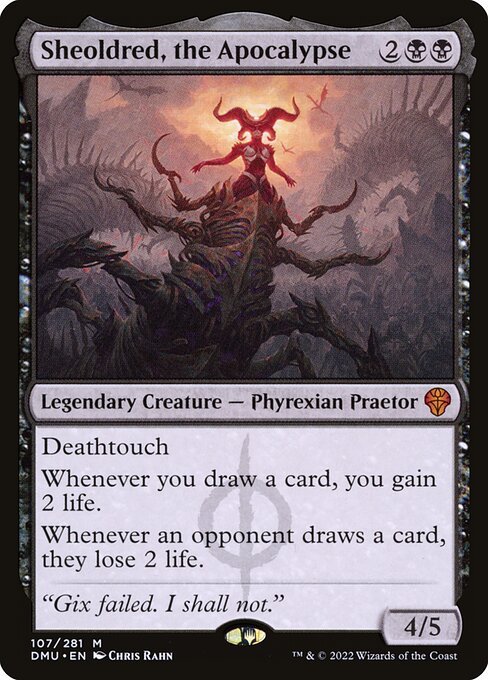
Sheoldred, the Apocalypse
-
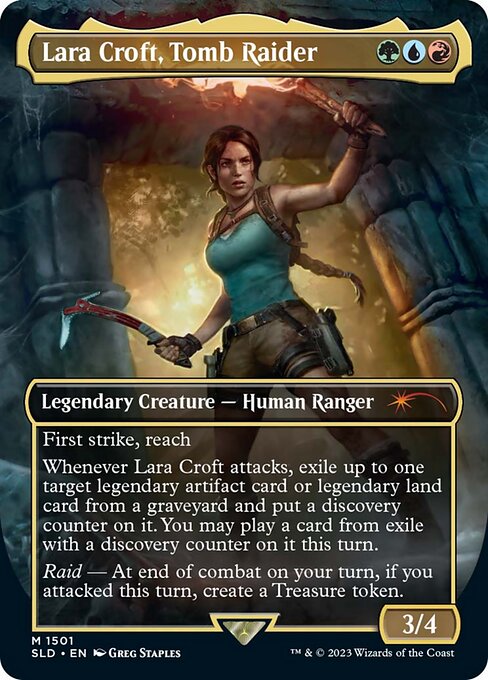
Lara Croft, Tomb Raider
-
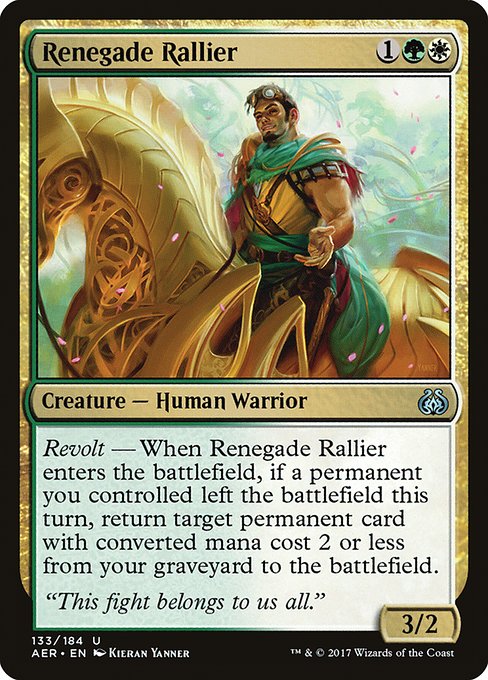
Renegade Rallier
-
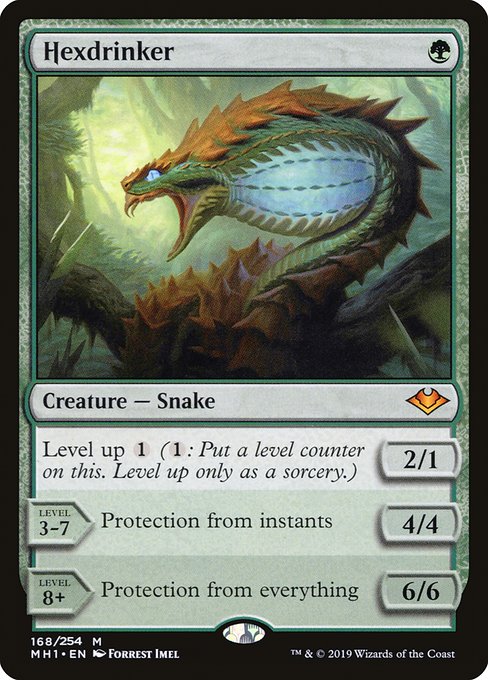
Hexdrinker
-
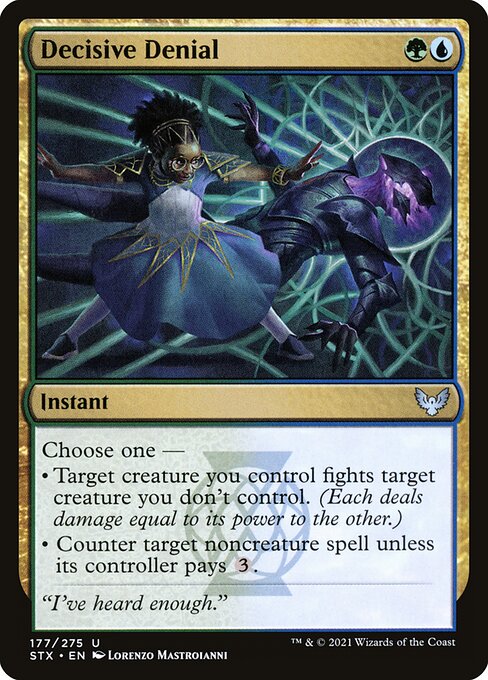
Decisive Denial
-
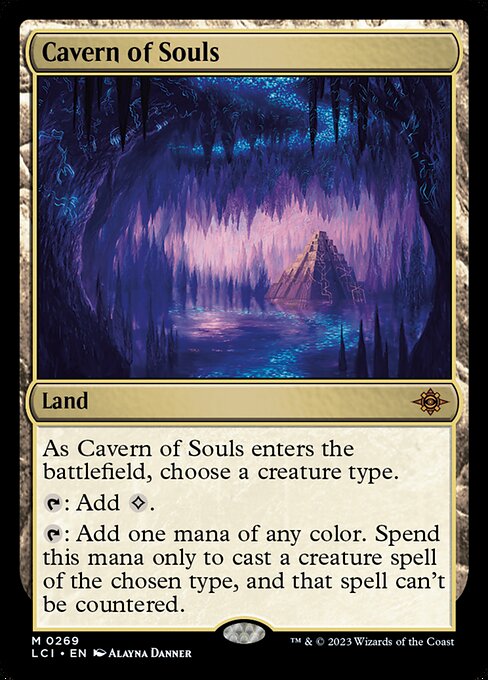
Cavern of Souls
-

Dark Ritual
Gameplay Summary
The game showcased a duel between a Sheoldred, the Apocalypse control deck and a more aggressive Lara Croft midrange deck.
Early on, Lara Croft's deck aggressively chipped away at Sheoldred's life total using efficient creatures and burn, including a key moment where Lara dealt a significant seven damage with a newly played creature that prevented blocking that turn.
Sheoldred's player relied on interaction spells like Decisive Denial and removal to keep the board in check but struggled to find enough answers quickly enough.
Despite Sheoldred's control elements and a Snaring Bridge to stall the board, Lara's constant pressure and the ability to generate treasure tokens to ramp lands kept the aggression rolling. A pivotal turning point came when Lara's aggressive strategy left Sheoldred with minimal resources and life, forcing Sheoldred to concede.
The game highlighted the tension between control and midrange beatdown, with Lara's deck leveraging efficient creatures and incremental value to overwhelm Sheoldred's attempts to stabilize.
The final damage was delivered through persistent attacks and clever use of commander triggers and treasure token ramp, demonstrating the strength of an aggressive midrange approach against a control shell.


